
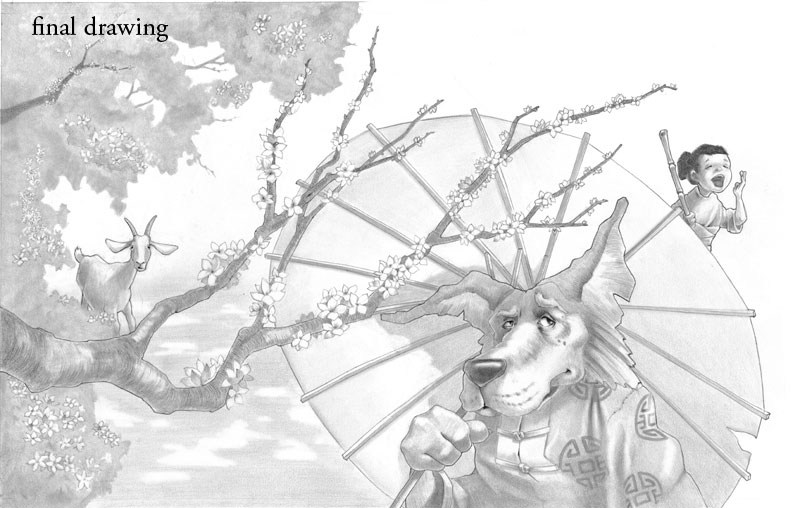
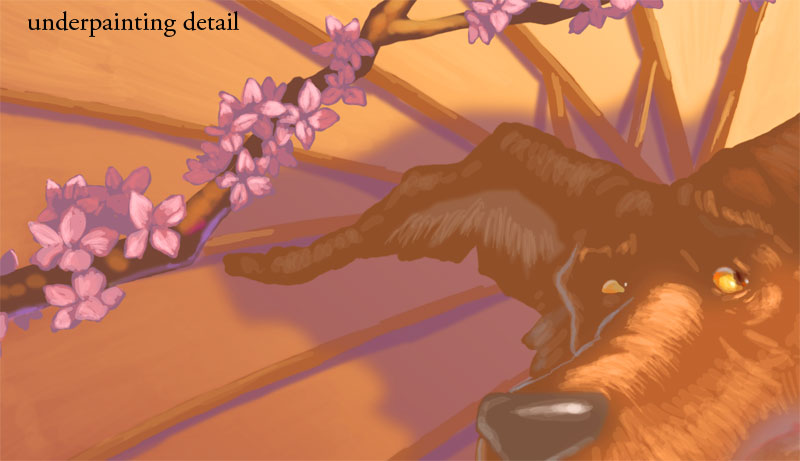
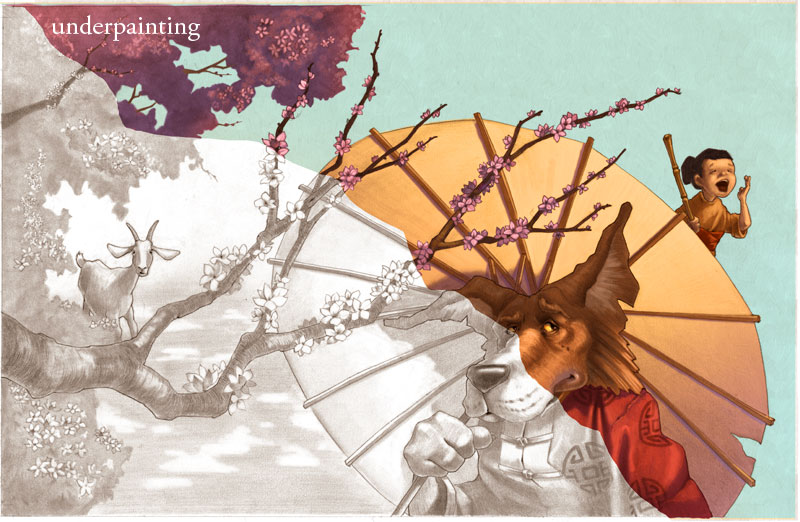
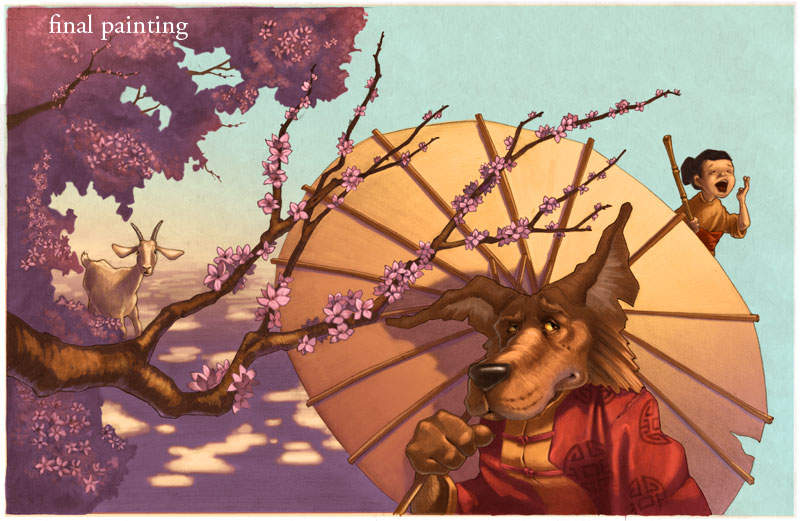
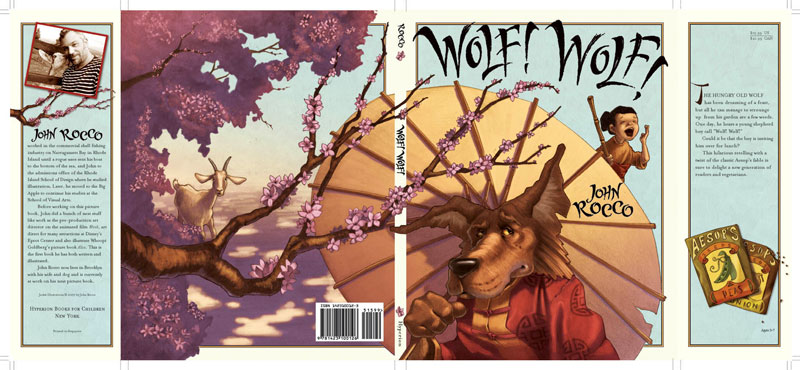
Today I wanted to talk a bit about my process for painting. These images are from the cover for my upcoming book "Wolf! Wolf!". It is my version of the boy who cried wolf. Once I have done all the sketches, research and designing, I begin the final art with a very tight drawing that is usually the same size as the finished print. In this case the book is about 9"x11" and because I am doing the front and the back of the jacket as one painting, my final drawing was 10x23 giving a 1/2" extra for bleed. The drawing was done with an hb pencil on strathmore cold press bristol. Then I scan the drawing in (or my publisher does that. They have a much better scanner than me.) Then I start to paint in photoshop. Using layers in photoshop, I multiply the drawing on my painting layers. I wanted this painting to have a bit of an old fashioned feel so using color balance, I tinted the drawing to become more sepia. I also multiplied the layer twice, and with the second layer of drawing at 20% I used a gaussian blur of 4 pixels. This gave the linework a slight bleed which I like. You can see in the detail of the underpainting, that it is fairly simple. I let the drawing do most of the work. I am also more comfortable with a pencil than a paintbrush, even with command z! I was very pleased with the final painting. Then my Art Director, the fabulous Christine Kettner, and I designed out the final jacket. I wanted the title to have a real sumi brush Asian feel, and yet still be very readable. She got Leah Palmer Priess to do the final lettering, and I was really thrilled how it came out. Look for this jacket on bookshelves in March 07 (hopefully facing out!)


3 comments:
What's going on in that big head of yours?
Do you use a stylus in Photoshop while painting? I tend to get mouse-hand when doing a lot of detail work.
This is beautiful work!! Thanks for explaining your process. It is really helpful to know in detail.
Post a Comment